How To Install Gymnastic Rings In The Garage?
Have you ever wanted to try gymnastics? But afraid to do so because of the risk of injury?
If you have always wanted to try gymnastics but are fearful of the risk of injury, you need to know that there are ways to do gymnastics safely.
Gymnastics is a very safe sport, and gymnasts teach how to do it correctly and safely. For example, they know how to do a proper warm-up before starting gymnastics. And they are taught how to avoid doing gymnastics while injured.
In this article, I’m going to show you how to install gymnastic rings in your garage or basement so you can practice gymnastics without risking any injury.
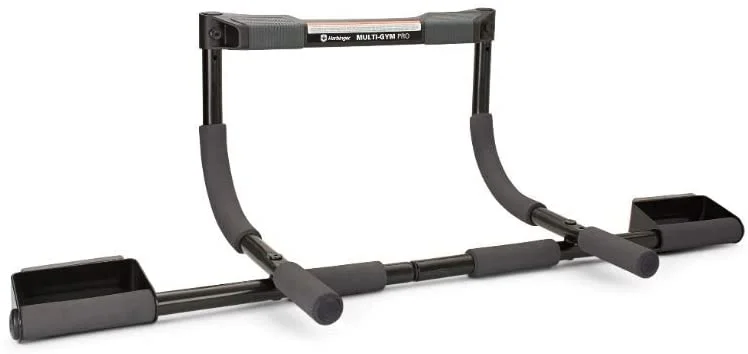
What is a Gymnastic Ring?
A gymnastic ring is a pair of rings used for connected bodyweight exercises, creating an open area for the user to step into.
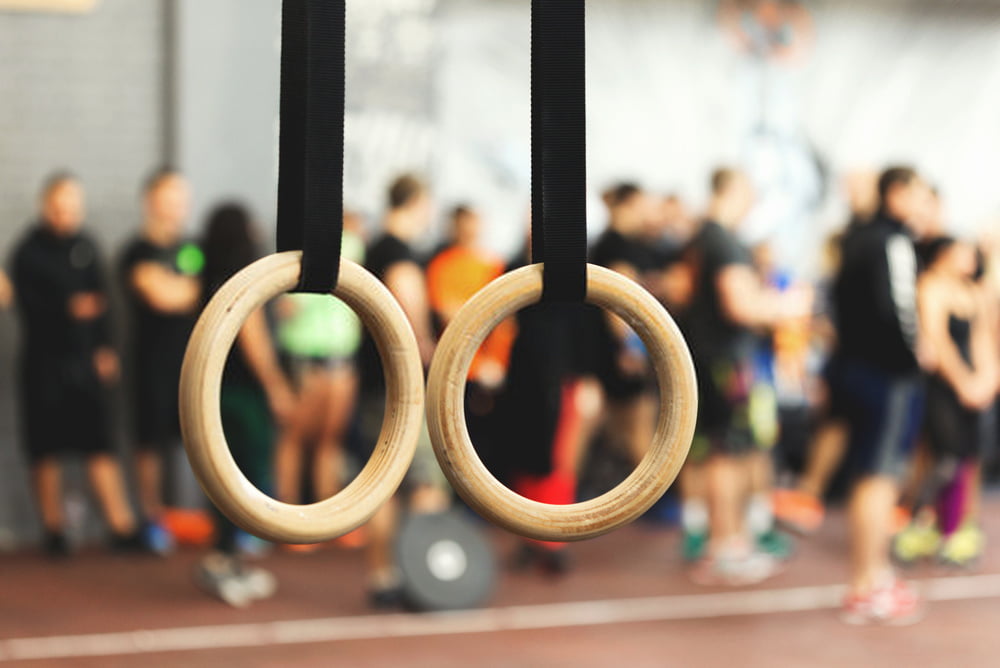
The gymnastic rings are suspended by ropes and pulleys, which allow the rings to be lowered down towards the ground or pulled up towards the ceiling.
The gymnastic rings are adjustable to your desired height and position. The ropes (or chains) come out of each ring and go through a series of carabiners attached to a strong anchor point (like your basement floor or rafters).
How to install gymnastic rings at the garage?
There are a few different ways to install gymnastic rings at the garage. The two most common are:
Method 1 – Install Rings on Garage Ceiling:
This method of installing rings is probably the easiest. Just follow these steps to get your gym up and running:
- Begin by selecting your location for installing the gymnastic rings.
- If you don’t have a ceiling beam to install the gymnastic rings, you can install them on the rafters or girts.
- Prepare a strong anchor point by welding around 6 – 8 heavy-duty bolts to the desired end.
- Once you’ve got your anchor point ready, create a plywood base to hang on top of it. The plywood should be about 12 inches longer on each side than the area of your anchor point.
- Drill holes into the plywood base and secure them with large bolts and nuts to the anchor point.
- Now, install the pulley system for lowering and raising the gymnastic ring system.
- Before you start installing the gymnastic rings, make sure to measure the exact dimensions of the rings so that you can hang them at precisely the right height.
- Install the first ring to your anchor point. Then install two parallel lifts in between each ring on each side of your anchor point, and then connect them all with a chain or rope.
- Connect one end of your rope/chain to an eye bolt on your rafters and then connect the other end to an eye bolt on top of your plywood base.
- Hang both ends of the rope/chain from their respective eye bolts so that they are suspended at different levels.
- Now, adjust the height and length of the chain/rope same on both ends of your anchor point.
- Build a frame out of wood panels to secure your gymnastic rings.
- Fit gymnastic rings into the wood frame, raise them and start your body workout!
Method 2 – Install Rings On Garage Floor:
This method works very similarly to Method 1. The only difference is that you’re going to install a small platform onto your garage floor and then build a large plywood base on top of that platform.
The placement of this platform onto your garage floor will depend on where you plan on hanging your gymnastic rings (i.e. on the girts or on a beam).
If you plan to hang your gymnastic rings on the girts, you will install a plywood platform directly onto the girts. Likewise, if you plan to install your gymnastic rings on a beam, you will install a plywood platform on top of that beam.
Once you’ve got the platform installed, follow these steps to finish installing your gymnastic rings:
- Prepare an anchor point by welding around 6 or 8 heavy-duty bolts to it (this anchor point should be in line with where your platform is going to rest).
- Build a plywood platform 2 – 3 times the size of your beam.
- Once the platform is built, wooden stack panels on top of it. You’ll want to make these panels about 4 inches longer or more comprehensive than the beam and add 2 inches of wood to fill in any gaps.
- Create a simple frame using wood pieces to hang your gymnastic rings from (the structure should be about 24″ -36″ high).
- Cut out a hole in your plywood base for your ring. This hole should be about 6 inches long x 4-5 inches wide.
- Place your plywood base onto the platform in your beam and then attach the plywood to the beam using bolts and washers.
- Now, lower your gymnastic rings into place by manually lowering them down towards the ground or pulling them up towards the ceiling.
- Now that you have completed installing your gym rings at the garage, you can start practising on them.
Gymnastic rings in my garage – how do they work?
Gym rings are best for those who like the simplicity of gymnastic rings.
Gymnastic Rings are suitable for:
- pull-ups and chin-ups
- dips
- hanging leg raises
- triceps push-ups (for more variety, use push up bars instead)
- inverted and horizontal shoulder presses
- frontal and lateral raises
- upright rows (can also be done with a barbell)
- squats with a barbell (can also be done with resistance bands or a squat rack)
- glute bridges (can also be done on a bench or the ground)
- ankle bridges and split squats
- planche practice (use gym rings to build up your strength until you can perform a planche without any help from equipment)
- muscle-ups etc.
Conclusion:
If you want to build the best home gym for yourself, consider buying gym rings. If you don’t have enough time to go to the gym and work out, then this equipment will help you train at your home. This equipment has provided me with good results so far, which were impossible before.
Train for at least 2 hours with this equipment every day to get better results! So before deciding on buying or not buying this equipment, make sure that you'll be able to use it regularly and properly.